
Comprehensive Guide to Adding Text in Adobe Premiere Pro
Incorporating text overlays into your videos using Adobe Premiere Pro significantly enhances viewer comprehension while adding a layer of professionalism and visual appeal. This in-depth tutorial provides expert-level instructions on adding text in Adobe Premiere Pro, tailored for beginners yet packed with insights beneficial for intermediate users seeking refined techniques.
Step-by-Step Process for Inserting and Customizing Text Overlays
To begin your journey with text integration, launch Adobe Premiere Pro and either open an existing project or create a new one. Import your video footage by navigating to the Project panel, right-clicking, and selecting Import, or simply double-click the empty space to browse for files. Once imported, drag the clip onto the Timeline to establish your sequence.

Creating a New Title Clip
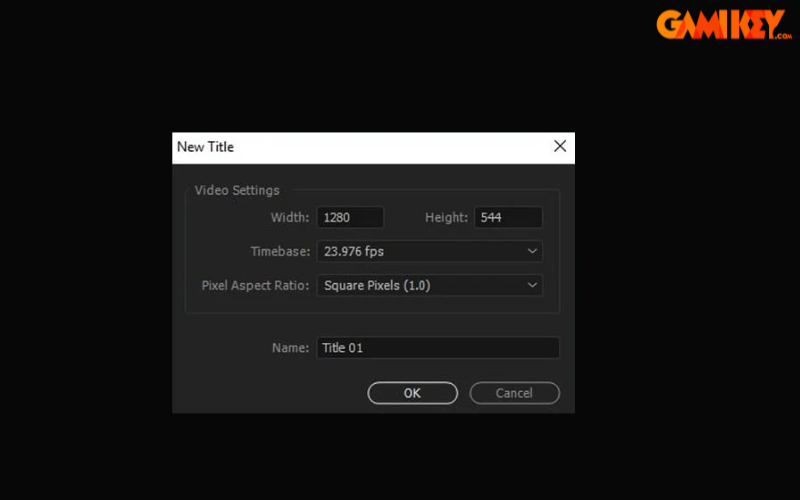
The most efficient way to introduce text is through the Legacy Titler. Access it by going to the top menu: File > New > Legacy Title, or use the keyboard shortcut Ctrl+T (Windows) / Cmd+T (Mac). A dialog box will appear, allowing you to specify the title’s name, video settings matching your sequence (such as frame rate and aspect ratio), and duration. Confirm by clicking OK. This creates a dedicated title clip that can be manipulated independently.
Exploring the Title Designer Interface
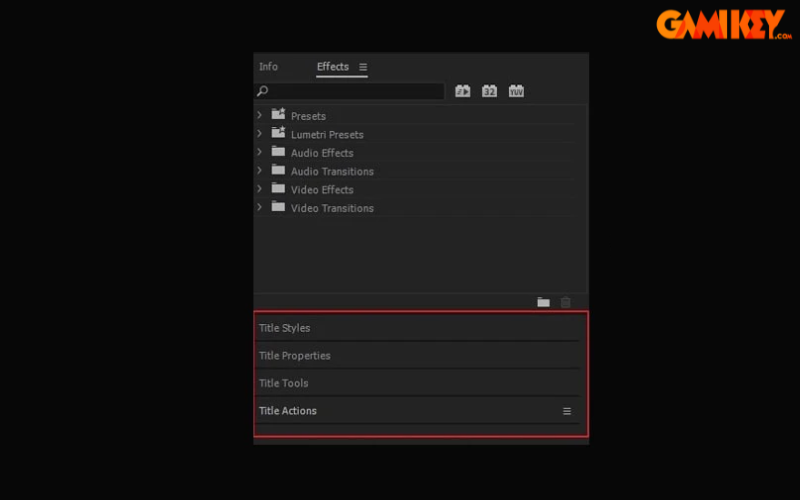
Upon opening, the Legacy Title window presents a comprehensive set of tools on the right panel. Key elements include font family selection, style options (bold, italic, underline), size adjustment, alignment controls, color pickers for fill and stroke, shadow properties, and transformation tools. The central canvas mirrors your video frame, enabling precise placement and real-time preview.
Typing and Formatting Your Text
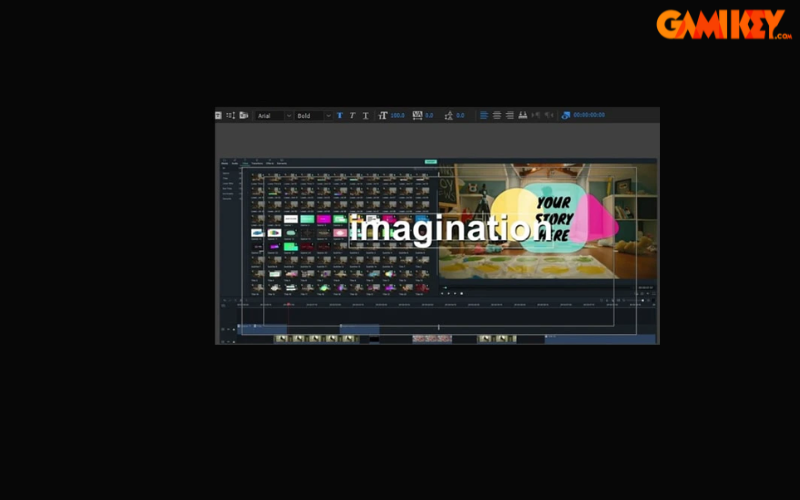
Select the Type Tool (T) from the toolbar, then click anywhere on the canvas to start typing. Press Enter for line breaks. For multi-line paragraphs, consider using the Area Type Tool to define a bounded text box that automatically wraps content. Experiment with fonts—system fonts are available, but for professional results, install high-quality typefaces like those from Google Fonts or Adobe Fonts (if subscribed).
Advanced Styling Options for Professional Text
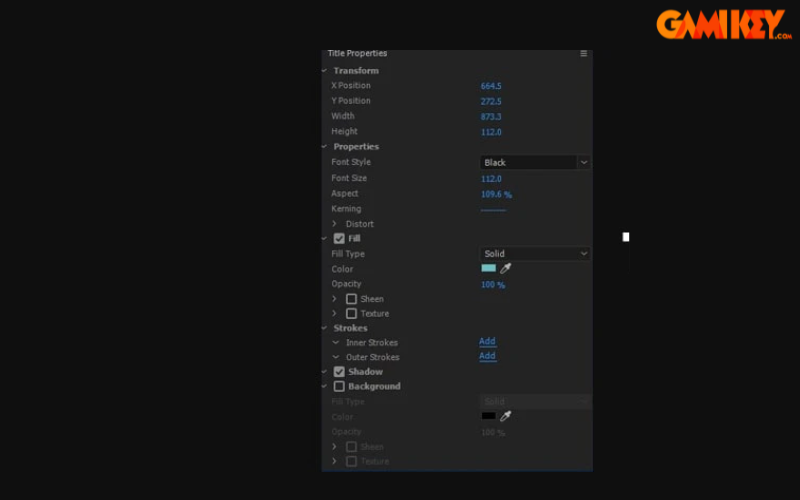
Elevate your text beyond basics with these customization features:
- Color and Stroke: Use the Fill color picker for the main text body. Add an outer or inner Stroke to create outlines, adjusting width and color for contrast against complex backgrounds.
- Drop Shadow: Enable Shadow and fine-tune distance, angle, opacity, and blur to make text pop, especially over busy footage.
- Tracking and Kerning: Adjust letter spacing (tracking) for even distribution and manual kerning for specific pairs to achieve typographic perfection.
- Transformation Controls: Modify Position, Rotation, Scale, and Opacity. Anchor Point adjustments allow precise rotation origins.
- Background and Shape Integration: Draw rectangles or ellipses behind text using the shape tools, then apply fills or gradients for subtitles boxes.
For dynamic effects, switch to the Effect Controls panel after placing the title clip on the timeline. Expand properties like Position or Scale, and add keyframes at different timeline points to animate fade-ins, slides, or zooms.
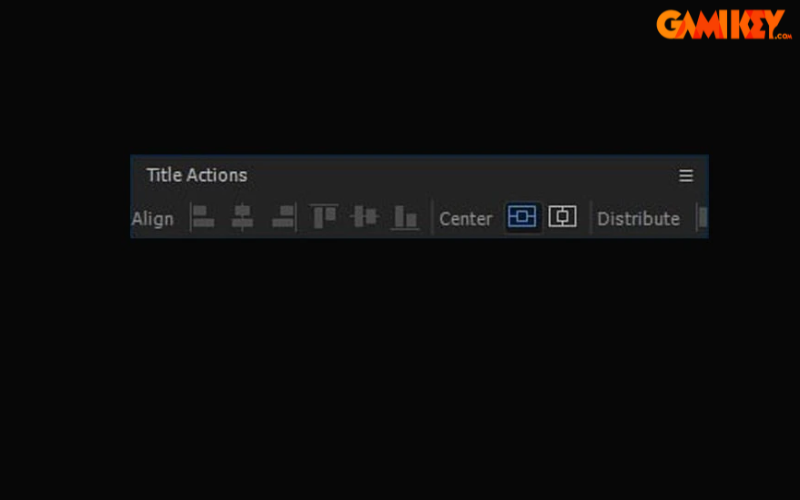
Alignment and Final Adjustments in the Title Designer
Utilize the alignment buttons for quick horizontal or vertical centering. For custom precision, switch to the Selection Tool and drag bounding boxes. Once satisfied, close the Title Designer window—the changes save automatically.
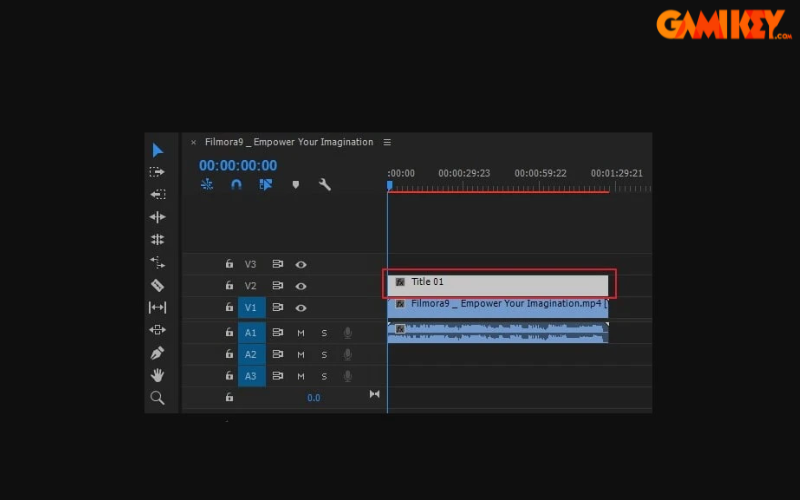
Placing the Title Clip on the Timeline
The newly created title appears in the Project panel. Drag it to a video track above your footage on the Timeline. Extend or trim its duration by dragging edges to synchronize perfectly with the underlying clip. For multiple text elements, create separate titles or use multiple tracks.
Exporting Your Final Video with Text Overlays
With all text elements perfected, export via File > Export > Media (Ctrl+M / Cmd+M). In Adobe Media Encoder queue, choose presets like H.264 for broad compatibility, adjust bitrate for quality vs. file size balance, and ensure “Match Source” for resolution. Click the blue text links for advanced settings if needed, then start the render.
Essential Tips and Best Practices for Text in Adobe Premiere Pro
Mastering text insertion involves more than mechanics—consider these professional recommendations to achieve polished results:
- Typography Choices: Opt for clean, sans-serif fonts like Helvetica, Arial, or Montserrat for readability. Limit to 2-3 fonts per project to maintain visual coherence.
- Contrast and Legibility: Always ensure high contrast between text and background. Use shadows, strokes, or semi-transparent background boxes for challenging footage.
- Timing and Duration: Keep on-screen text visible for at least 3-5 seconds per line, depending on complexity. Follow the “rule of seven”—viewers need about seven seconds to read seven words comfortably.
- Vietnamese Input Support: If typing Vietnamese characters proves problematic, verify your system keyboard settings and ensure Unikey or similar tools are active while Premiere is running.
- Animation Techniques: Beyond basic keyframes, explore presets in the Effects panel under Video Effects > Motion or use Essential Graphics for modern, responsive titles (introduced in later versions).
- Lower Thirds and Subtitles: For professional lower thirds, standardize position at the lower third of the frame. For subtitles, use centered alignment and consider burning them in or exporting separate SRT files.
- Performance Optimization: Excessive animated text can strain preview playback—use proxies for smooth editing on lower-spec machines.
- Accessibility Considerations: Provide sufficient color contrast (aim for WCAG AA compliance) and avoid flashing animations that could trigger photosensitivity.
Transitioning to the newer Essential Graphics panel (available in recent versions) offers advantages like responsive design and master graphics for reusable templates. To access it, go to Window > Essential Graphics, browse templates, or create your own using the upgraded Type and Shape tools. This modern approach streamlines workflows for motion graphics designers.
Common pitfalls include mismatched sequence settings causing distorted text—always match title settings to your sequence resolution. Another is over-animation; subtle movements often prove more effective than flashy effects.
By implementing these strategies, your videos will convey messages clearly while captivating audiences through sophisticated text presentation. Experiment iteratively, preview on multiple devices, and refine based on feedback to continually elevate your editing skills in Adobe Premiere Pro.
For further exploration of video editing techniques, discover additional resources on advanced effects, color grading, and audio mixing within the Adobe ecosystem.